Tag: kitchen

  • Creamy pasta recipe with tuna

    Creamy pasta recipe with tuna

    Ingredients

    • 500 grams of penne or spaghetti noodles;
    • Water to cook pasta;
    • 1 large onion;
    • 4 middle garlic teeth;
    • 2 tablespoons of margarine;
    • 1 can of tuna (170 grams);
    • 1/2 teaspoon salt (or to taste);
    • 1/2 teaspoon of red pepper (or to taste);
    • 3 tablespoons of mayonnaise (110 grams);
    • 1 can of cream (300 grams).

    Method of preparation

    • First, keep the water warm in the pan.
    • When the water is boiling, put on the pasta and cook as per the instructions of the pack until it is al dente.
    • Add the tuna, season with salt, pepper and mix well for about 2 minutes. Turn off the fire, finish with mayonnaise and cream. Move quickly.
    • Dispose of the pasta water and pour the sauce over it. Mix well, grate the Parmesan cheese, put it on top and enjoy!
  • Proteins or Fibers at breakfast? The Study That Reveals the Perfect Combination to Lose Weight.

    Proteins or Fibers at breakfast? The Study That Reveals the Perfect Combination to Lose Weight.


    When it comes to weight loss, morning meal is usually the center of intense debates. After all, what works best to start the day: a protein-reinforced dish to stop hunger or a meal overflowing fibers to regulate the organism? A recent cross-interruption study decided to put these two approaches to the test, subjecting the participants to 28 days of each protocol and delivering valuable discoveries on how our metabolism actually responds to each nutrient.
    During the experiment, researchers provided all meals of volunteers in two well-defined regimens. The first protocol focused on a high fiber content, ensuring about 30 grams daily from ingredients such as wheat bran, lentils and beans. The second directed 30% of all daily calories to high-quality protein sources, such as eggs, meat and dairy products. In both diets, the distribution of calories followed a strategic logic: 45% of the total daily was concentrated at breakfast, 35% at lunch and only 20% at dinner.
    The results showed that both paths lead to weight loss, but by completely distinct and fascinating pathways. The hyperprotein diet stood out for direct control of hunger. By stimulating the release of gastrointestinal hormones linked to reduced appetite, high protein intake significantly reduced the desire to eat throughout the day, facilitating the maintenance of a caloric deficit spontaneously.
    On the other hand, the fiber-rich protocol had a slight advantage in overall weight loss due to its profound impact on metabolic health. Fermentable fibers served as a banquet for beneficial bacteria of the digestive tract, especially bifidobacteria. This proliferation strengthened the integrity of the intestinal barrier, combated low-grade inflammation and boosted butyrate production. — a short-chain fatty acid directly associated with increased insulin sensitivity. In practical terms, while the protein silences the stomach, the fiber rearranges the metabolic gear of the body.
    The great lesson that the study leaves us is that we don't have to choose a side. Proteins and fibers act in a complementary way: a safe anxiety and hunger peaks, while the other nourishes the microbiota and optimizes energy expenditure. Bringing this discovery into daily routine is simpler than it seems. The most efficient way for those seeking to lose weight with health is to unite the best of both worlds at the first meal.
    Set up a smart breakfast ensuring between 20 and 30 grams of protein — through eggs, natural yogurt or thin cheeses — combined with good sources of fiber such as oats, seeds or nuts. This synergy not only prolongs the sensation of satiety for hours and stabilizes blood glucose levels, but also ensures that your intestine works in favor of your goals.

  • Italian Traditional Pizza

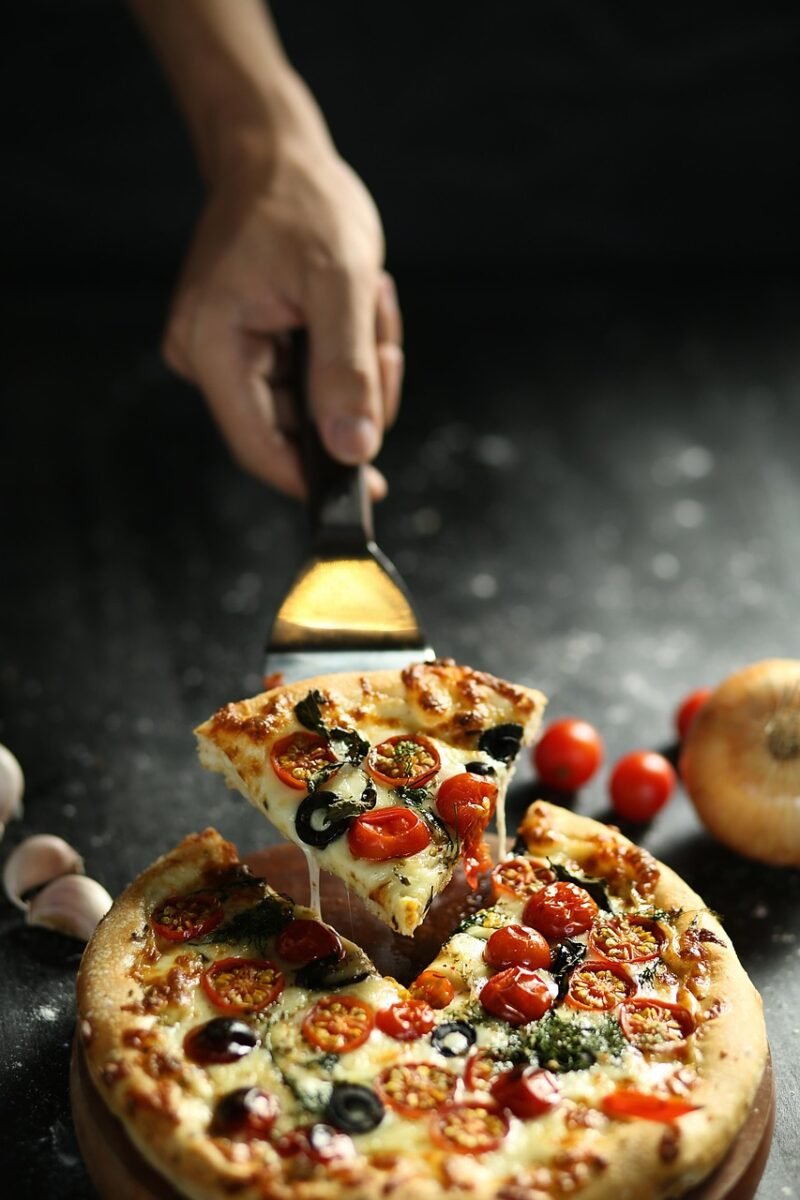
    Italian Traditional Pizza

    Ingredients
    Mass (net 4 pizzas)

    1000 g of wheat flour;
    600 g cold water;
    30 g of salt;
    15 g of extra virgin olive oil;
    5 g of dried biological yeast.
    Coverage

    fresh tomato sauce;
    Fior di Latte cheese;
    Basil leaves;
    Garlic confit.
    Method of preparation
    Mass

    Dissolve biological yeast in about 100 g of cold water.
    In a large mass or bowl, put the wheat flour.
    Add water gradually, mixing until all flour is incorporated.
    Add the salt and keep mixing.
    Add extra virgin olive oil and soak until you get a smooth, homogeneous and elastic mass.
    Initial rest

    Cover the dough with plastic film.
    Let rest for 30 minutes at room temperature.
    Division and billing

    Divide the mass into four portions of approximately 400 g each.
    Model balls very smooth and tensioned.
    Place each in a lightly greased container with lid.
    Fermentation

    Take the pasta to the refrigerator for approximately 24 hours for slow fermentation.
    Assembly

    Remove the masses from the refrigerator between two and three hours before using them, keeping the containers capped at room temperature.
    Sprinkle wheat flour or semolina on the counter.
    Open the mass of the center to the edges, preserving the air bubbles formed during fermentation.
    Spread the fresh tomato sauce.
    Add the Fior di Latte cheese, basil leaves and garlic confit.
    Bake in preheated oven at approximately 250 °C until the dough is golden and the cheese melted.
    The long fermentation period is one of the great differentials of this recipe, providing a lighter, tasty and easily digestible mass. With simple ingredients and classic coverage, the pizza brings together traditional characteristics of Italian cuisine and can be reproduced at home for those seeking a more artisanal result.

  • Revenue: Tomatoes in Brasa with Moroccan Cuscous, Buffalo Muzzarella and Parma Ham

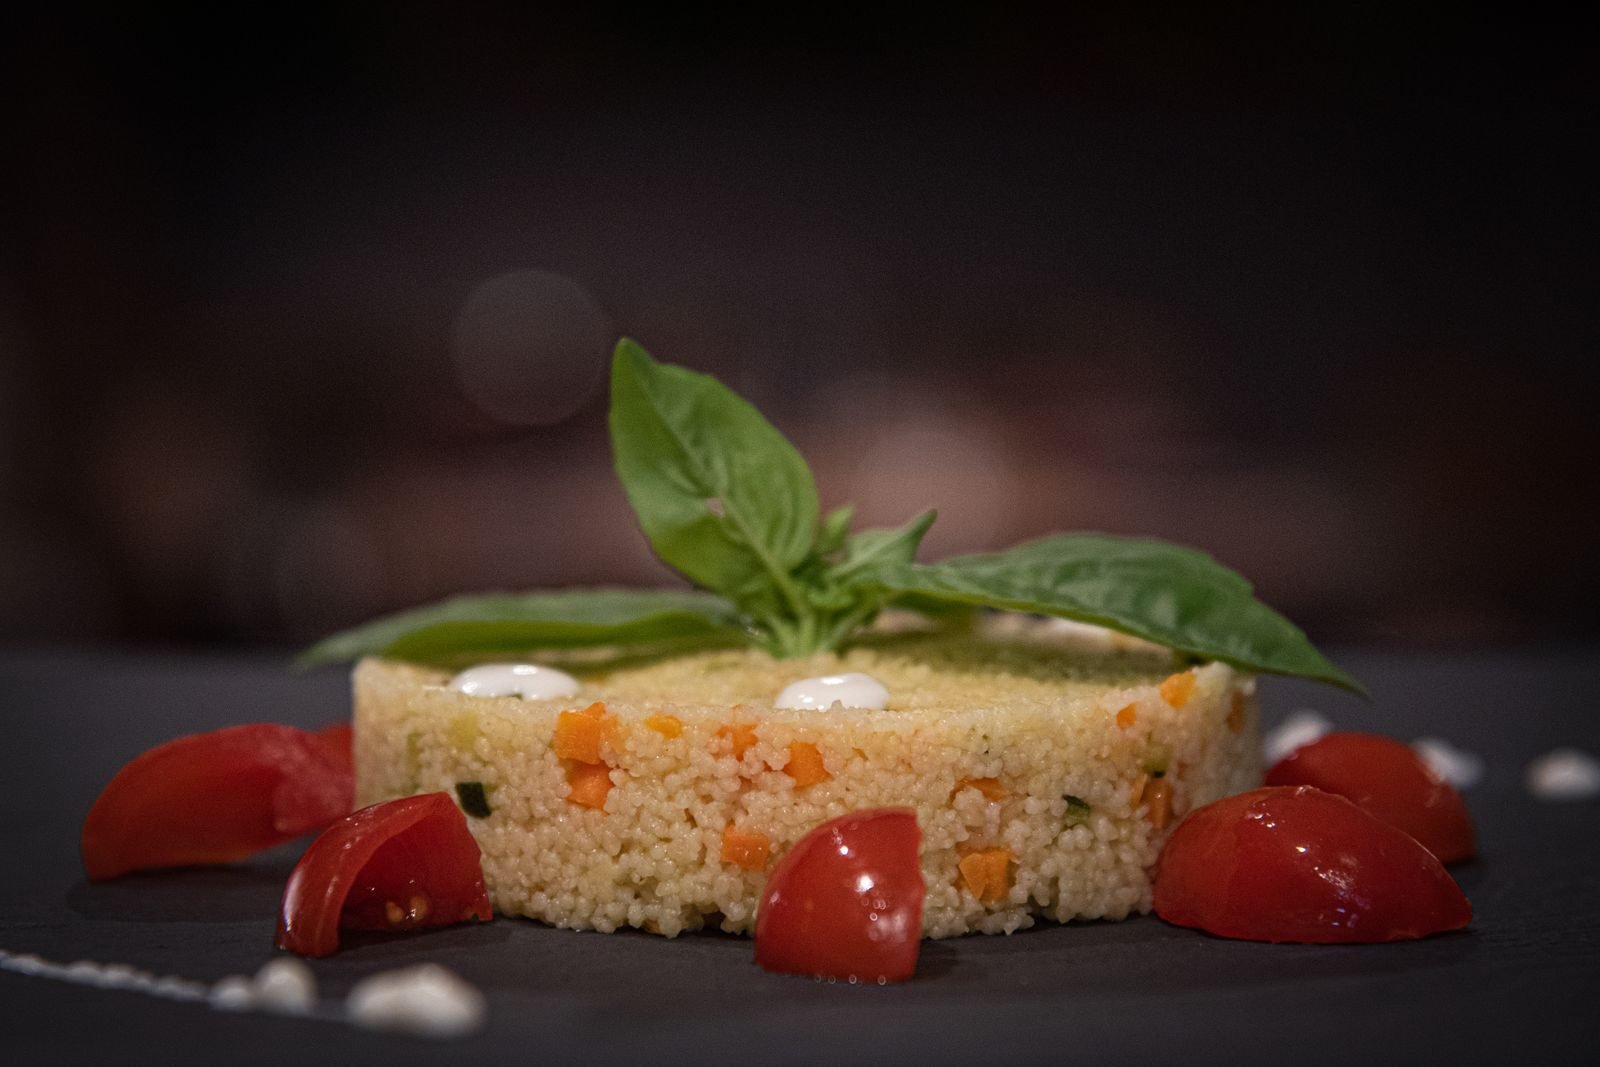
    Revenue: Tomatoes in Brasa with Moroccan Cuscous, Buffalo Muzzarella and Parma Ham


    Income: 1 portion | Preparation time: about 25 minutes


    🛒 Ingredients

    Tomatoes in Brasa

    – 150 g cherry tomatoes

    – 8 ml olive oil

    – 2 g fresh thyme

    – 2 g of salt

    – 1 g minced pepper

    – 3 ml reduced tucupi

    Moroccan couscous

    – 50 g Moroccan couscous

    – 60 ml hot water (not boiling)

    – 20 g carrot cut into brunoise

    – 20 g of zucchini cut into brunoise

    – 15 g of toasted cashew nuts

    – 5 g of minced fresh parsley

    – 3 g fresh mint mint mint mint mint

    – 2 g of peppers cut into fine brunoise

    – 8 ml olive oil

    – 1 g of salt

    – 1 g of lemon shavings (without white)

    To finish

    – 80 g fresh buffalo mozzarella

    – 25 g of parma ham

    – Cumari pepper sauce drops


    👩‍🍳 Preparation Mode

    Tomatoes in Brasa

    4. Place the cherry tomatoes in a bowl, add the olive oil, thyme, salt and the pepper-of-the-kingdom, gently mixing to wrap them completely.

    5. Bring it to the coal or oven at high temperature until it is lightly toasted and concentrated.

    6. Still warm, finish watering with reduced tucupi and reserve.

    Moroccan couscous

    4. Place the couscous in a bowl, cover with hot water and let it moisturize for approximately 5 minutes. After that time, release the grains gently with a fork.

    5. In a frying pan, quickly skip the carrot and zucchini in brunoise to keep the texture firm.

    6. Add the vegetables to the already loose couscous, add the cashew nuts, parsley, mint, pepper, olive oil and lemon zest. Mix well and taste to adjust the salt if needed.

    Crunchy Parma Ham

    4. Lay out the ham slices over a baking machine lined with butter paper.

    5. Bring it to the oven at 170 °C for about 8 minutes until it is golden and crispy.

    6. Remove from the oven, let it cool completely and book.

    Assembly

    6. Place the couscous in the center of the plate forming the base.

    7. Distribute the roasted tomatoes over the couscous.

    8. Tear the buffalo mozzarella with your hands and spread over the ingredients.

    9. Finish with crispy parma ham chips and discreet cumari sauce drops.

    10. Serve immediately still warm.

  • Filled Rice Fried: Turn Leftovers into an Incredible Main Plate.

    Filled Rice Fried: Turn Leftovers into an Incredible Main Plate.


    You know that early rice in the fridge? He can become a spectacular meal. This recipe combines the practicality of a frying pan with the creaminess of a filling of water in the mouth. The result is a light, golden fry with that cheese pulling that makes it look like a super elaborate dish.
    🛒 Ingredients
    For Mass:
    2 cups of cooked rice
    3 egg shakes
    1⁄2 cup of grated carrot
    1 tablespoon of grated parmesan cheese
    1 teaspoon baking powder
    3 teaspoons of chopped green smell
    1⁄2 teaspoon calabresa pepper
    1⁄2 teaspoon of salt
    1 tablespoon of olive oil (a little more to grease)
    For Fill:
    150 g of grated mozzarella cheese
    1 tablespoon cream cheese
    50 g of fried bacon in cubes
    1 tablespoon of cooked and well chopped broccoli
    👩‍🍳 Preparation Mode
    Prepare Fill: In a bowl, mix the mozzarella, the curd, bacon and broccoli. Reserve.
    Do the pasta: In another container, add the beaten eggs, rice, carrot, parmesan, yeast, green smell, pepper, salt and olive oil. Shake well until you get a moist, homogeneous mixture.
    Mount on the Fryer: Garnish a non-stick pan with olive oil and bring it to the low heat. Pour half the rice dough and spread even with a spoon.
    Add Fill: Distribute the mixture of cheese and bacon over the base, leaving a small free edge on the sides not to leak.
    Cover and close: Place the rest of the rice dough on top and, with the spoon, set the edges to seal the deep fry.
    Doure and Turn: Let it cook in low heat until the base is firm and well golden. Support a large dish on the skillet, turn carefully at once and slide the fry back to brown the other side. Serve immediately!
    💡 Gold Tips
    The Secret of the Turn: Just try to turn the fry when it's completely loose from the frying pan and with a firm bottom. Using a non-stick skillet and a dish larger than her edge guarantees success without breaking.
    Avoid Humidity: You can vary the stuffing using chicken, ham or vegetables, but avoid ingredients with lots of sauce. Very moist fillings make the dough soft and make turning difficult.

  • Green Corn Cake

    Green Corn Cake

    Ingredients
    2 cups of green corn tea
    1 cup coconut milk tea
    1/2 cup coconut oil tea
    3 eggs
    1 cup demerara sugar tea
    1 cup of fuba tea
    1/2 cup rice flour tea
    1 tablespoon of chemical baking powder
    1 pinch of salt
    Coconut oil for grease
    Rice flour for flouring
    Method of preparation
    In a blender, beat the green corn with coconut milk, coconut oil and eggs until you get a homogeneous mixture. In a large container, mix sugar, fuba, rice flour and salt. Add the blender to the dry ingredients and stir to incorporate.

    Finally, add chemical yeast and mix gently. Pour the dough in a greased form with coconut oil and floured with rice flour. Take the preheated oven at 180 °C for 40 minutes. Remove from the oven, wait to cool and deform. Serve it next.

  • Receita de bolo de chuva assado.

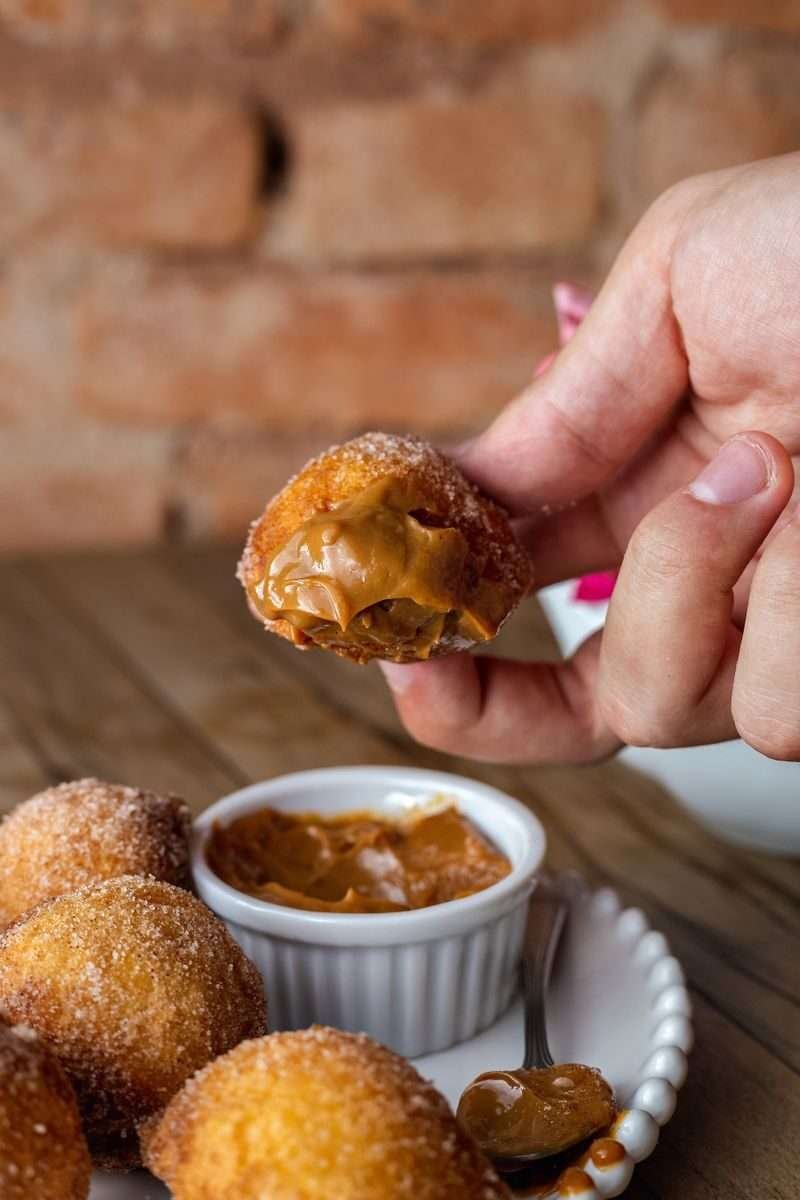
    Receita de bolo de chuva assado.


    Ingredientes:


    2 ovos
    1 xícara (240 ml) de leite integral
    4 colheres (sopa) de óleo
    1 colher (café) de essência de baunilha
    1/2 xícara de açúcar
    Cerca de 2 xícaras de farinha de trigo
    1 colher (sopa) de fermento químico em pó
    Para finalizar:

    Açúcar a gosto
    Canela em pó a gosto
    Modo de preparo:
    Preaqueça o forno a 180°C e unte as forminhas que serão utilizadas.
    Em uma tigela, bata os ovos com o leite até obter uma mistura homogênea.
    Adicione o óleo e a essência de baunilha, misturando bem.
    Acrescente o açúcar e mexa até que ele esteja completamente dissolvido.
    Adicione a farinha de trigo aos poucos, mexendo sempre, até obter uma massa cremosa e levemente encorpada. A quantidade pode variar um pouco, mas costuma ficar em torno de 2 xícaras.
    Por último, incorpore o fermento químico delicadamente.
    Distribua a massa nas forminhas, preenchendo cerca de 2/3 da capacidade de cada uma.
    Leve ao forno preaquecido por aproximadamente 20 minutos, ou até que os bolinhos estejam levemente dourados e firmes ao toque.
    Retire do forno, espere amornar e passe os bolinhos em uma mistura de açúcar com canela.
    Sirva em seguida e aproveite!

  • Torta Rústica de Frutas com Massa Phyllo: O Segredo de uma Sobremesa Sofisticada e Fácil

    Torta Rústica de Frutas com Massa Phyllo: O Segredo de uma Sobremesa Sofisticada e Fácil


    Às vezes, as melhores sobremesas são aquelas que parecem ter exigido horas de dedicação na cozinha, mas que, na verdade, escondem um processo de preparo surpreendentemente simples. A Torta Rústica de Frutas com Massa Phyllo é exatamente esse tipo de receita: um prato que encanta visualmente, unindo a delicadeza de camadas crocantes, o frescor de frutas vermelhas e a suavidade de um recheio cremoso, tornando-se a escolha perfeita para um café da tarde ou uma reunião especial de primavera.
    Muitas pessoas evitam receitas que utilizam massa phyllo, pois ela é conhecida por ser delicada, rasgar facilmente ou colar, o que pode parecer intimidador. No entanto, esta torta propõe uma abordagem totalmente diferente e libertadora. Aqui, o objetivo é justamente “amassar” a massa. Ao dobrar as folhas em formato de leque ou acordeão de maneira descontraída, o aspecto rústico torna-se o grande trunfo do prato. Se as folhas rasgarem, não há motivo para preocupação; essas imperfeições ajudam a criar dobras que absorvem melhor o recheio cremoso, garantindo que o resultado final seja impossível de errar.
    Para preparar essa delícia, basta pincelar manteiga derretida em cada folha de massa phyllo, dobrá-las suavemente e acomodá-las sem apertar muito em uma forma untada. Após organizar a base, espalhe morangos fatiados e mirtilos frescos entre as dobras. O toque final é regar tudo com um creme feito de ovos, açúcar, leite morno, creme de leite, fermento e um toque vibrante de raspas de limão.
    Ao ser levada ao forno preaquecido a 180°C por cerca de 30 a 35 minutos, a torta se transforma. A parte superior ganha uma textura dourada e incrivelmente crocante, enquanto o centro se mantém macio e úmido devido ao creme que penetrou entre as camadas. O resultado é um equilíbrio perfeito de texturas e sabores que, além de delicioso, traz um toque de elegância artesanal à mesa. É o tipo de sobremesa que convida a uma pausa, ideal para ser saboreada com calma e uma boa xícara de chá ou café. Se você busca uma receita que combine conforto, beleza e praticidade, esta torta é o convite perfeito para colocar a mão na massa e se divertir na cozinha.


EnglishenEnglishEnglish